Showing posts with label diy. Show all posts

2.10.2012

Floor Pouf

These things are all the rage because they are so versatile.  They can be used as a foot stool, a side table and even extra seating.  The down side is that they are crazy expensive.  At least for me they are.  My solution was to make one.

I found this pattern from Amy Butler and with a gift card to Hobby Lobby that I got for Christmas I was able to sew this little beauty together.


It was super easy to make and is the perfect size for putting your feet up on and Claire loves to use it as her own little seat.  She also uses it as a soccer ball and likes to kick it up and down the hallway.  Not really what I had in mind but she finds it entertaining.

I look forward to making another one to put around my coffee table that one day I will be able to put back in my living room.  Right now it is just open floor since the baby is down there and with no coffee table we have more room to play.


I'll leave you with Claire making funny faces.  Have a great weekend!

~ Andrea

9.29.2011

DIY Mercury Glass

It's no secret that I have a small obsession with mercury glass.  I have seen many tutorials on how to do it and I finally decided to try it for myself.

The tools:  water in a spray bottle, Krylon looking glass spray paint and a small glass vase


To warn you the spray paint was crazy expensive (at least I thought so).  At Hobby Lobby it was around $11 for the smallest can imaginable but luckily I had my 40% off coupon so I got it for around $6.  Still a lot for spray paint in my opinion but I figured I would give it a try.

I started by turning the vase upside down so I wouldn't get any on the inside.  Then I misted it with the water and then sprayed a light coat of the paint.  I repeated this step one more time and let it dry.

My end result was this


Not as splotchy as I was hoping but overall very pretty.  It looks great with a candle inside too but I couldn't get a very good picture of that, sorry.

After I finished this I had a great I idea of how to use the rest of the paint.  I'll give you a hint: it involves something similar to this

via Little Green Notebook

However, it will be a while before I get to it because the paint works best between temps of 55 and 80 degrees with very low humidity.  So I'm thinking it will be at least Thanksgiving before our weather is like that.

~ Andrea

9.13.2011

Reduce, Reuse, Upcycle

My wonderful husband gave me a Kindle for my birthday/our anniversary present back in June.  He also got me a cover like this one.


Well, last month Claire was "reading" my beloved Kindle and was "turning the pages" meaning she turned the Kindle and bent/broke the hooks that kept it attached to the cover.  Luckily it wasn't the kind with the built in light or I would have been really upset.  Instead I set out to find a super cute, less generic cover.

I searched Amazon and Etsy and saw some I liked but wasn't really in love with plus I didn't feel like spending another $30 on a cover.  Then I had the idea to make my own cover.  I mean how hard could it really be?

I used this tutorial from NoodleHead as a starting point and just adjusted it to the size that I needed.  My main concern was that it be durable enough to protect my Kindle.  That's when I had the idea to reuse the broken cover and put it inside my little clutch.  All I had to do was cut out the little prongs, which was a little trickier than I had thought but not impossible.

I followed the clutch tutorial using my own measurements and before I sewed the lining shut I simply put the cover inside and surrounded it with some fluffy fabric for extra cushion and closed up the lining.  When it was finished, I had this,


Best of all the total cost was $0 because I already had all of the stuff.  I love being crafty!

~ Andrea

2.22.2011

Pillows Made by Me

I bought a couple of different fabrics off of Etsy a few weeks ago to make some pillows to go on my very bare couches.  I finally had some time this past weekend to make a few and wanted to share.


I love the pink but I thought the pattern was going to be a little smaller.  Oh well, it still works.  I made these babies with zippers and everything.  You're impressed, I can tell.  The linen ones I made with some leftover fabric from having the chairs reupholstered.  They have an envelope closure on the back so they were a piece of cake to sew together.


I love projects that are quick but make a really big difference!  I plan on filling this sofa with all kinds of pillows because it makes a great background and it's more comfy that way.  And I know you are probably thinking (really me because no one else would notice) that pink doesn't really work with my rug (not currently pictured).  You're right, but remember how I wanted to brighten everything up with awesome, mindblowing colors?  Well my current rug doesn't fit into that equation so it will be replaced sometime in the near future.  No worries, I'll make sure it finds a good home (probably my mother's).

~ Andrea

1.31.2011

So I was thinking...

My husband HATES to hear these words come out of my mouth.  From past experience they usually mean that I have a project cooked up which equals lots of work for him.  So, when I told him the other day that I was thinking that I wanted to take down the chair rail and beadboard in our living room, I was not surprised to see rolling eyes and that oh so common "oh s***" look I have become all too familiar with.

Don't get me wrong, I like chair rail, I just don't like it in my living room.  Chair rail is suppose to protect your walls from chairs and other furniture from getting too close.  My problem is that all of my furniture sits below it and coupled with 8 foot ceilings means that my room is visually shortened.  The rail stops your eye so it accentuates my short ceiling.  If I could remove it then the eye could continue to the ceiling uninterrupted so making the room feel taller.


I also have cheap beadboard below the chair rail which would have to be removed to create my clean wall.  Chris was very pessimistic about it.  He thought the beadboard would have been glued on in addition to being nailed.  Meaning that if it came down we would also have to replace all of the sheet rock.

Well, I got a little froggy and decided to do a little test.  I wanted to see how easy it would be to take it all down so I picked a section of wall and got to work.  Good news - the beadboard was not glued to the wall.  Bad news - the people who owned the house before us installed solid wood floors and decided to run the wood up to the baseboards without removing and reinstalling them above the new floor.  What this means is that I can't get the beadboard off the wall because it is stuck behind the baseboard which is stuck behind the flooring.


With this little development I am forced to go to plan B.  I am going to paint the rail the same color and finish as the wall.  It won't make the chair rail disappear but hopefully it will make it less noticeable.  I plan on painting the whole room Benjamin Moore's Monterey White, which is the same color as in the kitchen.  But first I have to Chris has to fix my wall.

~ Andrea

1.19.2011

Upholstered Headboard DIY

I will start by saying that I'm not so great at documenting the steps of the projects that I do.  Usually it is just me so until I can teach Claire how to take decent pictures or I grow extra arms my tutorials shall be mostly description.

Claire's Headboard


I started by measuring and deciding how big I wanted the headboard to be.  Mine wound up being 4 feet tall with the upholstered part starting at 2 ft (which is just below the top of the mattress) and 38 inches wide.  I had to build it with legs because Claire's room has chair rail so I couldn't attach it directly to the wall.  With final measurements Chris had a project to work on and in about an hour he had made this.
 

Constructed from 2 2x4's and a piece of partical board I had left over from another project.  He even drilled holes in the legs to attach it to the bed frame.  Super sturdy!

Next, I had to wrap it in batting.  I used quilt batting for a queen size quilt because I wanted to make it really soft.  Laying everything on the floor and using my handy dandy staple gun (a Valentine's present) I attached the batting to the frame making sure it was pulled tight all the way around.
 

Then I did the same thing with the fabric.  I used 4 yards of a white cotton twill which was plenty.  The legs were a little tricky and I should have taken a picture of how I did them but I forgot.  I was too focused on how to wrap them.  I wound up taking extra pices of the fabric and wrapping the legs individually and then hiding the seam under the part where the main headboard fabric meets the legs.  It took a little finagaling but I finally figured it out.

I added a purple ribbon to give it a little more dimension and to complement her dust ruffle, which I had made a while ago.  I took the easy way out and attached it with hem tape so all I had to do was iron it on after it was upholstered.


This was a fairly easy project and coming in at under $30 I think it looks fantastic!  A custom look for super cheap.  That's what I'm all about.  While Claire's room is still a work in progress, this is one big checkmark on my to-do list.  I'll do another post to show you how I am incorporating her nursery decor into her current bedroom.

~ Andrea

Want to make your home the envy of the neighborhood?  I can help! 
Email me so we can get started.


psst...did you notice the toy shrek hiding under the bed?  If you did, 10 points.

1.06.2011

Dining Options?

It rained here all day yesterday so I'm pretty sure it won't rain again for at least 2 months.  In light of this good news I've decided to tackle refinishing my dining room table.  I have been toying with a few different ideas for a while and still haven't decided on anything so I thought I would ask for your help.

The Patient:


I bought it a few years ago at an "antique" barn.  It was super cheap, really big and had pretty legs so I was sold.  The problem is that the finish on the top is not in the best shape and I'm really not a shabby chic kind of girl.  My first response is to paint it white and call it a day but that is just too much white for me.  I need color, it makes me happy.

I have thought about painting it a pale blue or staining it the same color as the chairs.  The chairs and the table did not come as a set.  I actually bought the chairs online from and unfinished furniture store and assembled and stained them myself.  By the way, sanding, staining and sealing 8 chairs is a lot of work.

The other idea I have been thinking about is doing a weathered finish to it so it has more of a grey undertone.  It is something that I want to do to my pendant also but I just haven't built up the nerve to do it yet.

So what do you think?  Paint, stain, weathered?  Or maybe you have another fabulous idea that I haven't thought of.  Please share!

ps...don't forget to enter my giveaway for a chance to win a free room design!

12.16.2010

Handmade Presents for All!

I told you yesterday that this week is full of parties and presents for me.  Chris gives gifts to all of the ladies in his front office and to his fellow principals for Christmas.  This usually involves a trip to Walmart the night before the last day of school and me putting together glasses filled with candy tied with a pretty bow.  This year I was a little more proactive so I was able to make some really cute and useful gifts.


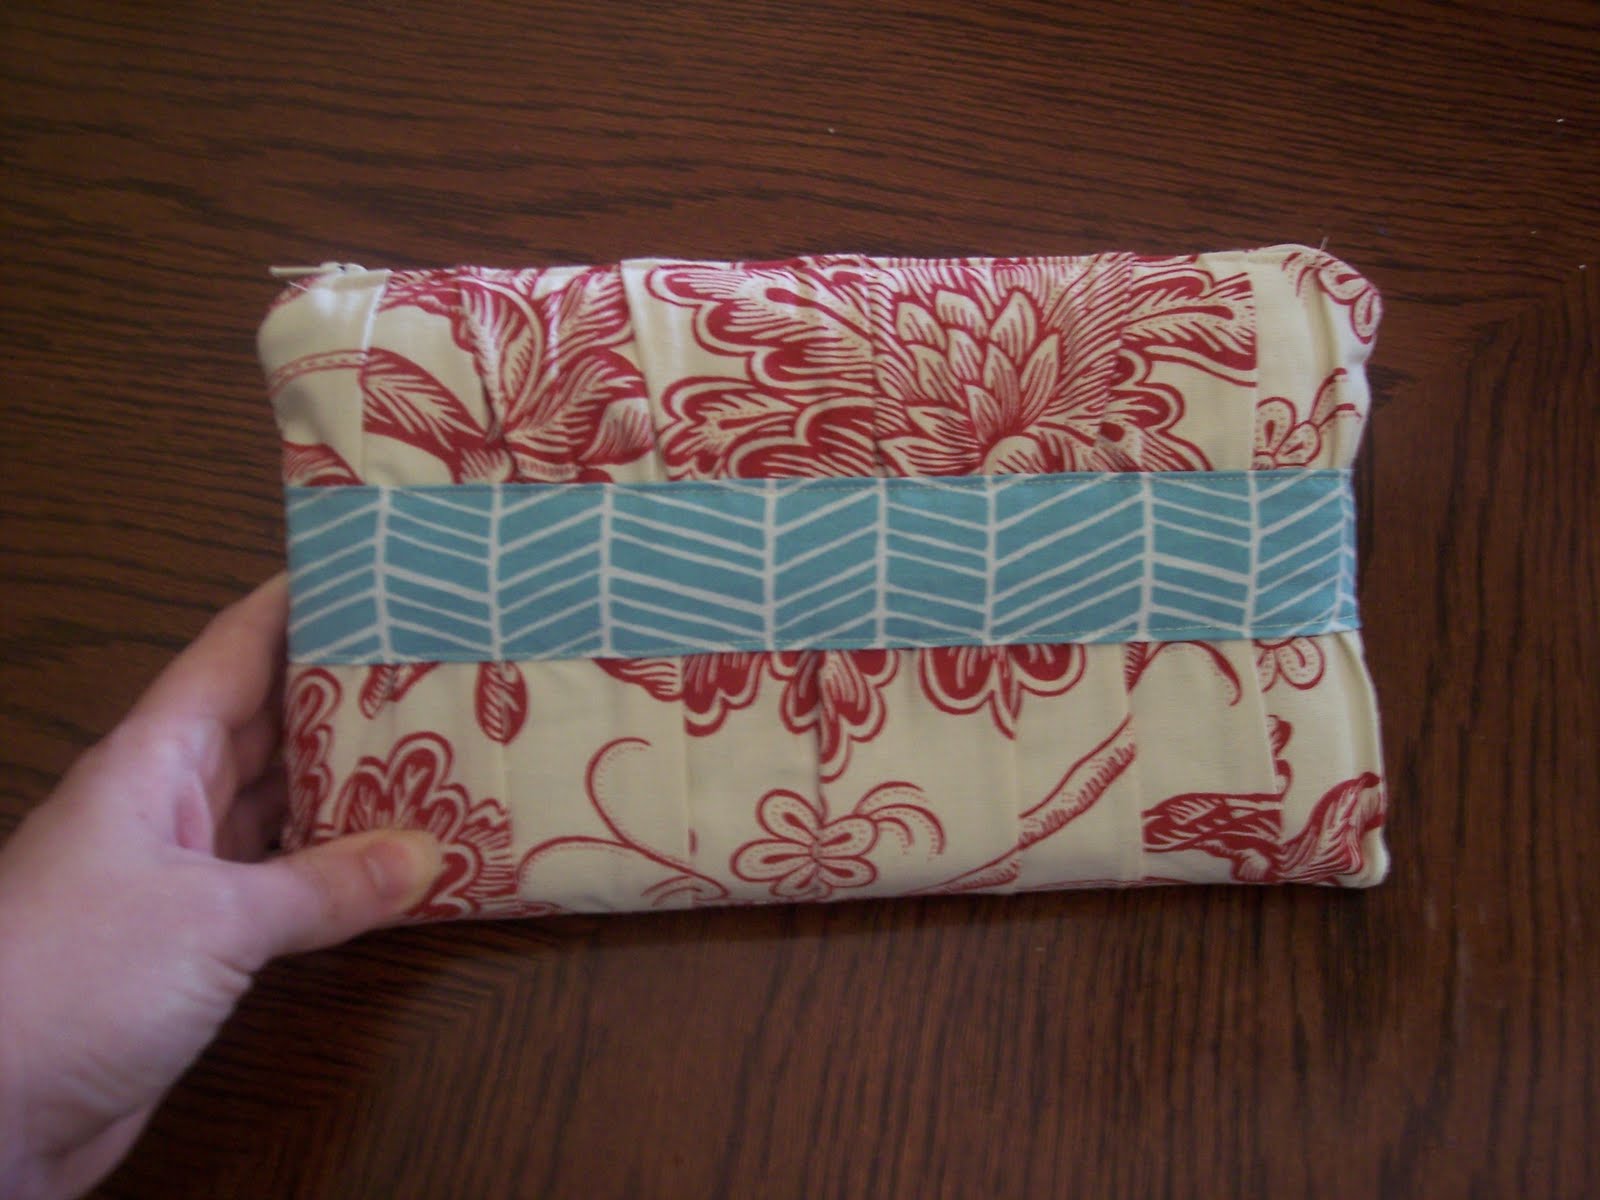
The office ladies will each be receiving one of these,


I used an awesome free printable from Erin Vale Design and made a small to do list pad for each of them.  It was fairly easy and all I needed was some padding compound, which I got from here, to make six useful handmade gifts.  (Padding compound is the clear stuff on top of notepads that holds all the sheets together)


I made Chris' fellow assistant principal a completely adorable and super cool 2011 owl calendar available from My Owl Barn.


This application is really neat.  There are 30 different owl images to choose from and all you have to do is pick which image you want with which month and then you can download your personal calendar.  I printed it out on card stock and used the same padding compound to make a little desk calendar.  I also added a magnet strip on the back so she could put it on her filing cabinet or fridge.  Add this to a tin of the cookies I made and you have another great and inexpensive gift.


As for Chris' principal, I took the easy road and got him a gift card to Tractor Supply.  I know what you're thinking but he's a guy and we live in the South.  Trust me, he will love it.


Tonight we have the school party.  I'm super excited because low country boil is on the menu.  Yum!