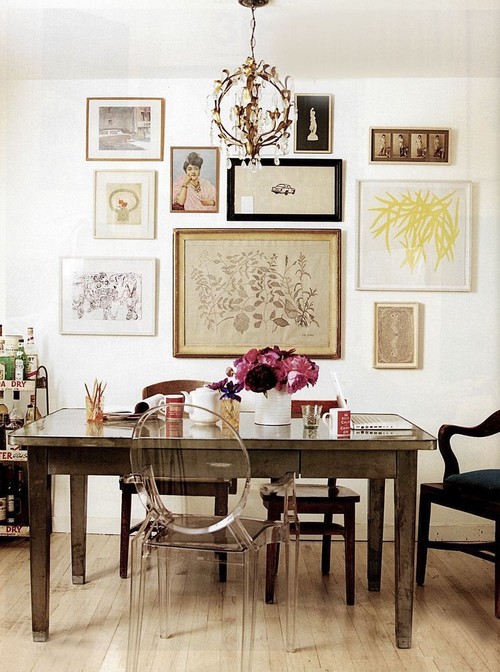
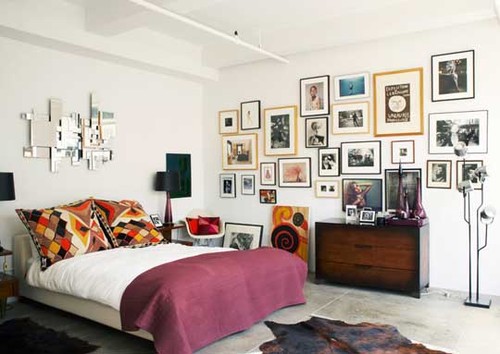
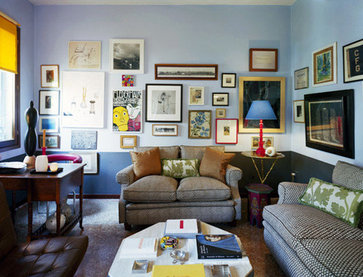
Step 1: Select a central image
Step 2: Add secondary pieces on either side
On the left, I have an 11x14 print that I bought from an artist at a local fair. I balanced it on the right with a smaller shadow box, which contains a linen napkin that belonged to my great great grandmother, and some random plates.
Step 3: Keep adding stuff
I picked up the crown at Hobby Lobby and, while they are trendy right now, it holds a personal significance for me so I know that I will never get tired of it. The little gold frames I got at Goodwill and have plans to change the pictures (I'm just not sure what I want yet). The white frames are from Ikea and they hold pictures that I have taken.
Step 4: Move things around
After living with the above picture for a few weeks, there were some things that kept bugging me. First, I needed to balance the circles of the plates. I have an oval frame that I want to add but it works better on the right side so the plates got moved to the left. Second, I didn't like how symmetrical the left side looked compared to the right. I fixed it by moving the gold frames further apart and adding another Ikea frame to the mix.
Keep in mind that there are still a few things I want to add. Including one (or two) of the awesome animal prints I posted about
here. I have an oval frame that it will live in and is destined to be placed at the bottom of the right side. The good thing is that I still have so much wall space that I can keep adding to this for a while.
Here are a few extra tips, from yours truly, on how to create this look for yourself.
Now, go, create and send me pictures!
Today's 5k Time - 35:03


